After the slide out repair, we thought we’d never be able to afford getting solar installed. But then our friends Myron and Becky (Canucks On Wheels) came up with a plan to at least get us started with very little cost. So we put the plan into motion and started purchasing the pieces we would need for this project.
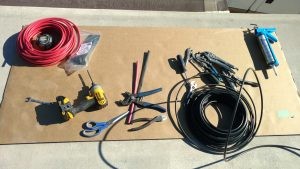
Here’s the list of hardware items:
QTY Item
107 1-1/4″ Alum Ang. ( 4 x 26 3/4) – Panels
64 1-1/2″ Alum Ang ( 8 x 8″) – Panels
36 Pop Rivets – Panels
76.8 1-1/2″ Alum Flat Bar (4x 19.2″) – Tilt
6 Wing Nuts – Panels
15 12/2 NMD90 – Kitchen Plug
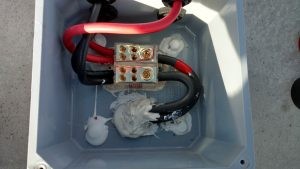
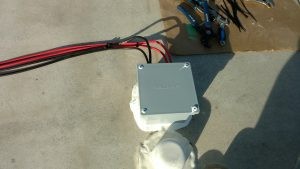
1 6x6x4 Junction Box – Roof JB
1 15 Amp Cord end –
4 Thumb Screws – Tilt Brackets
10 Stainless steel 1/4″ Bolts
16 Locknuts 1/4×20
1 3/4″ Box Adapter – Roof Jbox Sleeve
1 1G Shallow Box – Kitchen Plug
2 #6 Ground Terminal Ends
2 WT Fuse Holders – Under Solar Panel
2 15 Amp Mini Fuses – Under Solar Panel
4 Water Tight Connectors – Roof Jbox
1 Junction Block – Distrubition- Roof JB
1 Glass Fuse Holder w/ Fuse
6 8 Gauge Butt Joint – Roof wire
1 Master Solar Disconnect Switch
1 15A Surge receptacle – Kitchen Plug
21 #8 Red Solar Wire
21 #8 Black Solar Wire
32 #4 Black Solar Wire (2 Runs Positive and Neg)
4 #2 Cable Ends
2 #6 Green Ground Wire
12 1/0 Battery Cable Wire for Inverter
6 1/0 Battery Cable End ( 4 Pos + 2 Neg)
6 #2 wire from Charge Control to Battery
6 #2 wire from Charge Control to Battery
1 Negative Battery Extention
3 Dicor Tape
1 Eterna Bond Tape
18 Cable Tie
24 #6 x 3/4″ Screws
3 1/4″ Self Tapping Screws
16 # 8 Pan Head Screws
12 Shrink Tube #2
12 Shrink Tube #4
Zip Ties
Well Nuts
Also the panels. 2-175w panels. So with everything in hand, we met them in the desert outside of Yuma, Arizona and the fun began.
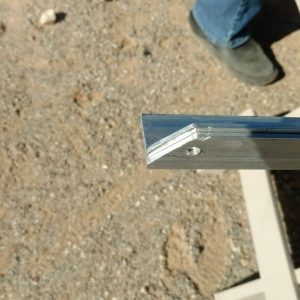
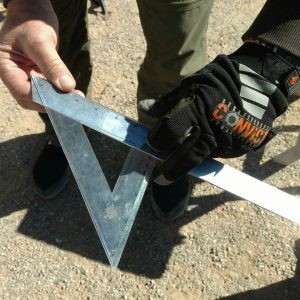
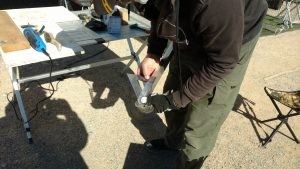
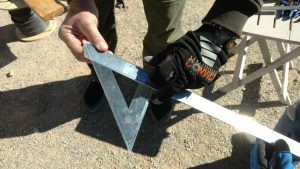
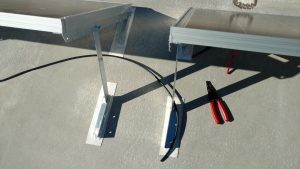
First up was to build our own brackets:

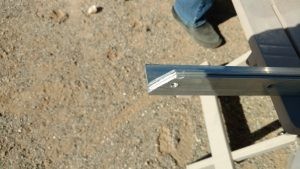
Then to the roof and placing them:
We spoke with Alfateers/Leisure Coachworks about the roof composition and where and how to place the panels. (Since they were the folks who built the rig, who better to let us know, huh?)
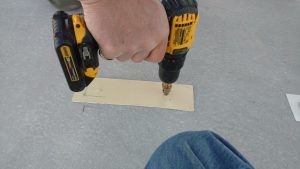
Drilling the holes was horrifying to say the least!
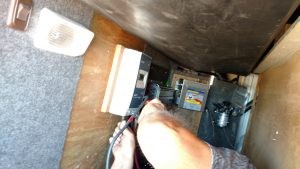
We ran all the wires and got the panels set up.

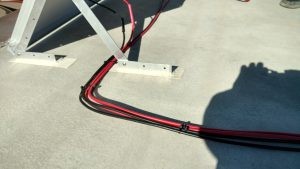
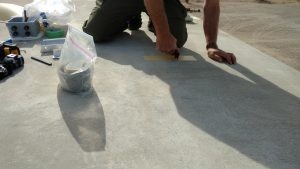
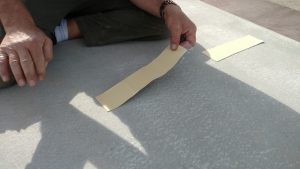
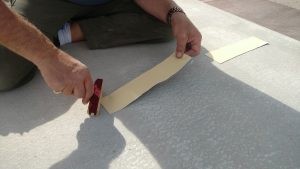
Made sure to Dicor everything and every hole. Also put Dicor into the holes before the hardware too!
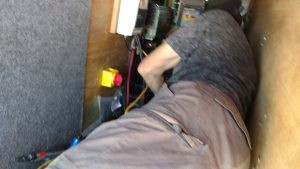
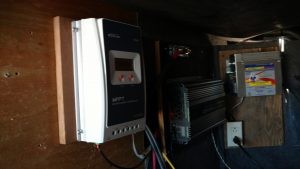
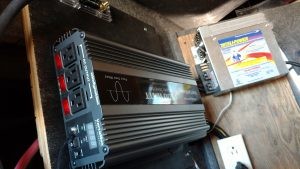
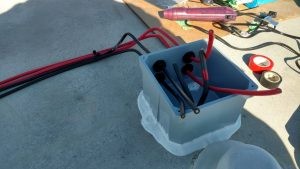
Then off to the basement, where we installed the charge controller and inverter.